

Working the Sun - How to use Available Light to make Interesting Wildlife Images

Most photography teachers will tell you that photography is all about painting with light. In wildlife photography, it’s mostly about painting with “available light”. When you grow up shooting in India where many of our evergreen forests don’t really provide the best lighting conditions, you get quite used to following a formula with photography. Keep the sun behind your back, and front light your subject. And hey, that’s not a bad formula. For the most part, it’ll get you great images.
Those great images after a while can all tend to look the same though. Evenly lit subject, flat perspective and an absolute lack of depth. After all, it’s a wildlife image champ! How about adding some of that unpredictability of wildlife into your image? In today’s blogpost, I’ll show you a few different results that you can get by choosing different orientations of light for your wildlife images.
Front Lit Images — for the “Studio Look”
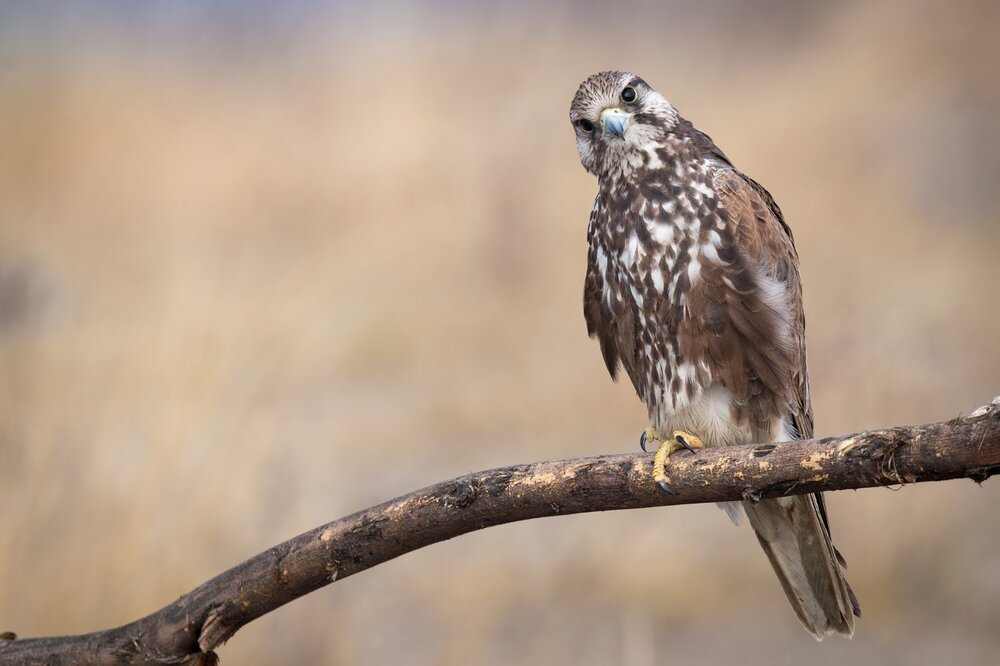
Front light makes for beautiful portraits that can often look like they’re studio lit. This is a great stock orientation to shoot most of your wildlife portraits, particularly those of birds, where you want to bring out plumage detail and where you’d ideally like to emphasise most of the subject’s features.
This said, the lack of shadows especially early in the morning and late in the afternoon can make the images look quite flat as we’ve already discussed. This is why you may sometimes want to try other orientations.
Side Lit Images — for the “Dramatic Look”

Side-lit images on the other hand can have anything from an intense to a light shadow. As the day progresses into twilight, the shadows get longer. When you light part of your subject and leave the rest in shadow, it creates a sense of drama. These days, for any medium to large subjects, this is my orientation of choice.
Back Lit Images — for the “Intense Look”

There’s nothing quite like shooting early in the morning or late in the afternoon by the way. Regardless of what angle you shoot from, you can create great images. This is also a great time to shoot against the light. The sun isn’t as harsh as to completely black out your subject and with some clever exposure you can get not just details on your subject but also a rather pleasing mix of rim light and shadow.
The key is to ensure that there are elements that come between you, the subject and the sun. This in most cases tends to be trees or foliage. This also doesn’t work well with first light. You probably need to wait till a little after sunrise to achieve this look. The idea is for the light to be pleasing and low, but not too low! To me, backlighting just makes every subject so much more intense.
Rim Lit Images — for the “Non-Literal Look”

Rim-lighting by the way is something that gives me a high everytime I see it in the wild. If you’re not directly against the sun and your light is still high up and not right at the level of your subject, the outline hairs will most likely catch some light. The way I’ve usually capitalised on this is by either underexposing heavily in the field or exposing to the right and then playing around with the histogram in post. The key is to ensure that you don’t blow the highlights in your image. As long as you can do that you’ll retain detail on the rim and come up with a rather non-literal tale of the spectacle.
High-Key Images — for the “Dreamy Look”

Moments in the wild can often feel like dream sequences. The dust, the light, the patterns, all make me revel in the glory of nature. I love bringing out that emotion in my pictures. While high key images aren’t quite everyone’s taste, it’s a style of images I quite like for just the dreamy effect it can have on viewers.
So if there’s a heap of dust in the air or the sun behind a subject’s back I’ll often bump up the exposure considerably to “white out” a huge part of the scene, leaving only some details in the foreground. Some results are likeable, others aren’t and I’m still learning from my experiments.
Silhouettes — for the “Storytelling Look”
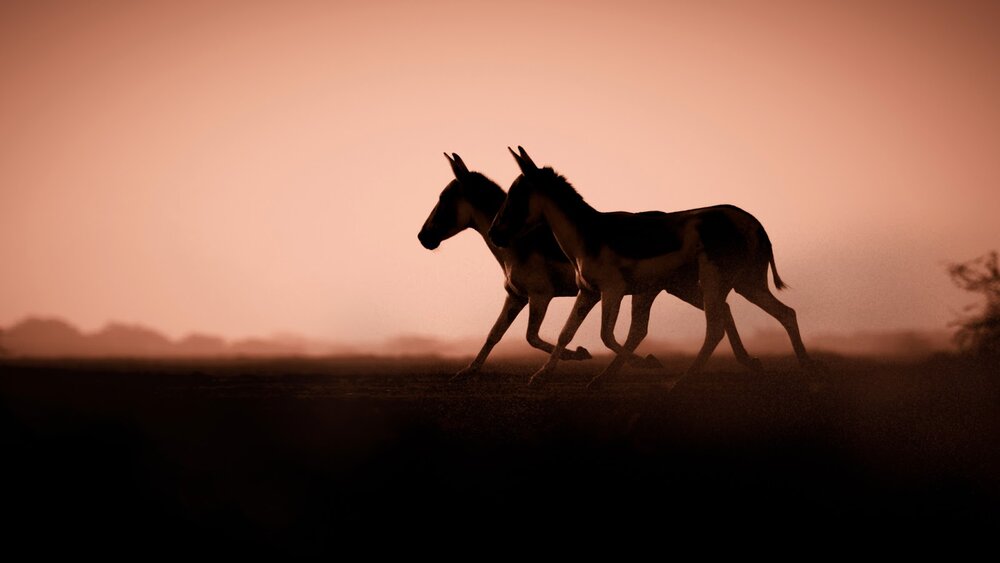
Last but not the least, I can’t say enough about silhouettes. Essentially these are high contrast, images that you shoot directly against the sun with nothing to block the light except your subject. At the end of the day most wildlife is so deep rooted in our culture that people can usually look at a silhouette and know immediately what they’re looking at. Taking away the detail however allows them to focus on the story in the scene.
I love silhouettes just for their power of storytelling and the minimalist feel they create for your photograph. After all, it’s not much more than a heap of shadow. And yet, just that play of light and shadow can often say so much.
So the next time you decide to go photographing in the wild try a few different orientations with light and if you can, muster the courage to ditch the “light behind your back” wisdom. Who knows, you may just surprise yourself with the results.